If you’ve ever woken up in a beautiful boondocking spot only to find your house batteries drained and your fridge warming, you already understand why solar panels for RV setups have gone from a luxury to a near-standard upgrade.
Solar lets you camp longer, run off-grid without a generator droning all day, and keep your batteries topped up whether you’re parked for a weekend or living the full-time life.
As an ANCE-certified solar technician who has professionally designed and installed solar systems, I’ll walk you through exactly how RV solar works, how to size it for your rig, and how to avoid the expensive mistakes most first-timers make.
How Solar Panels for RV Systems Actually Work
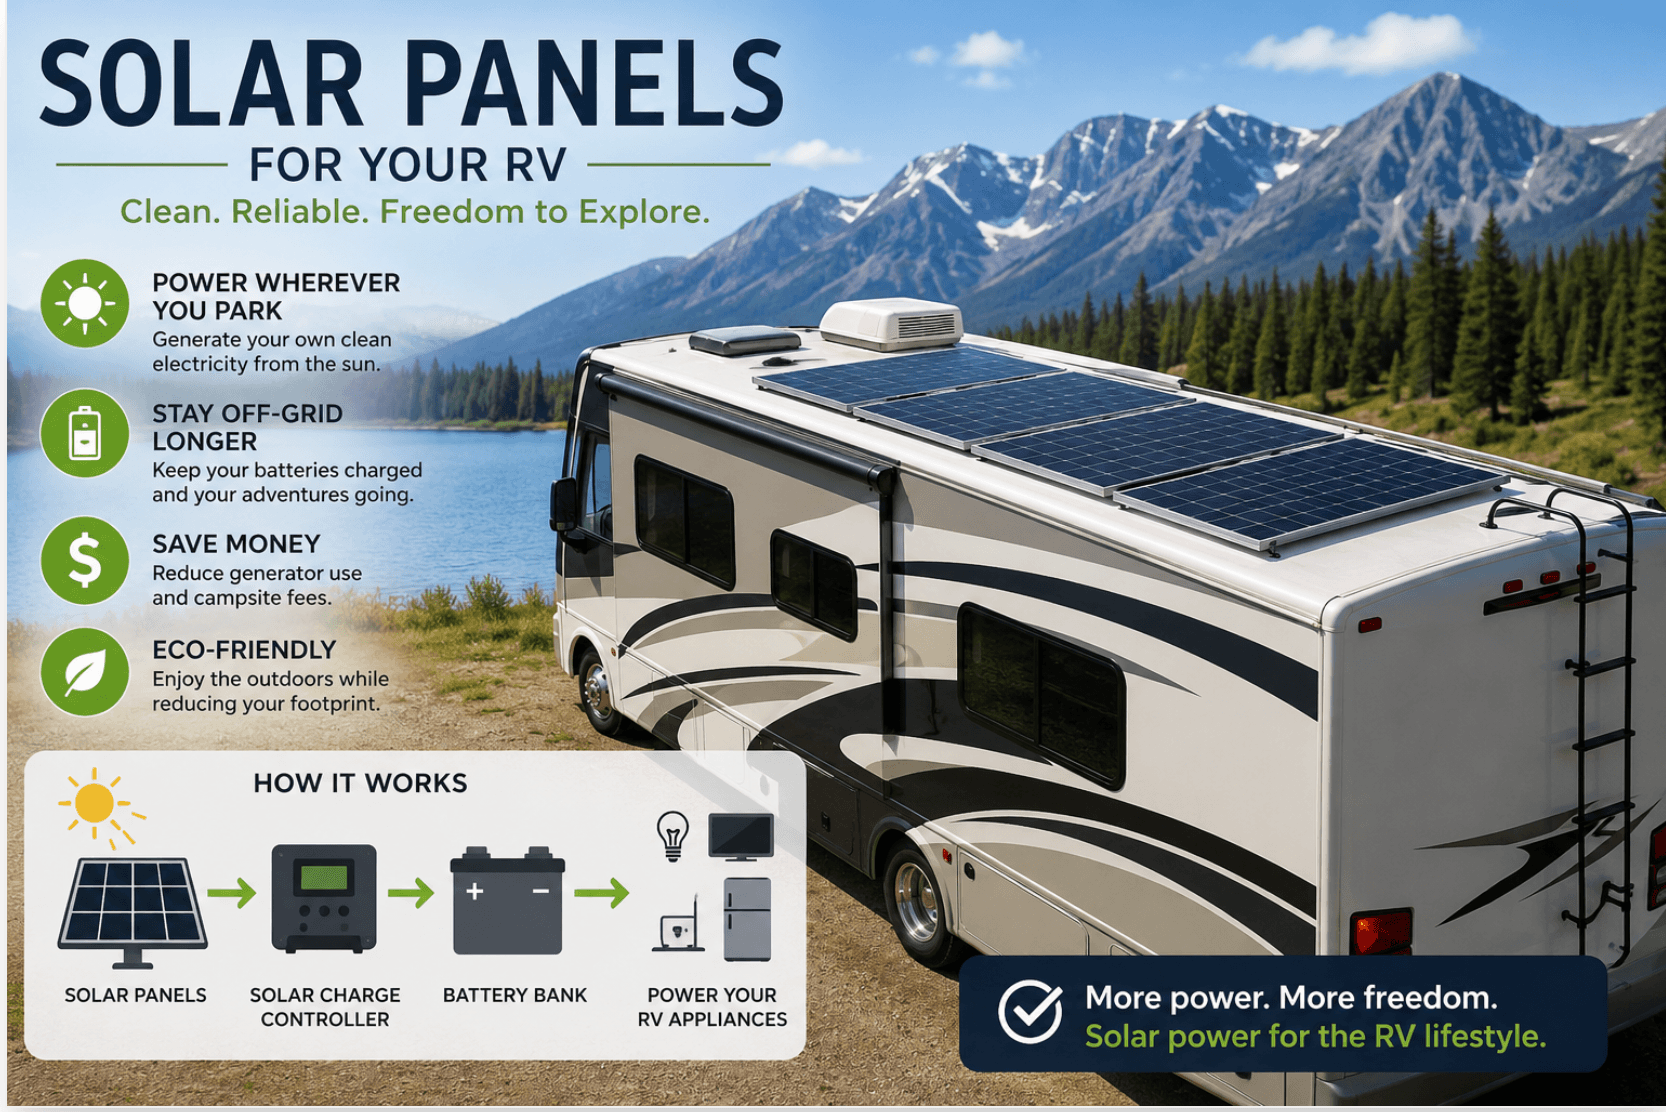
An RV solar system has four core components working together:
- Solar panels capture sunlight and convert it to DC electricity.
- A charge controller regulates that power so it charges your batteries safely.
- A battery bank stores the energy for when the sun isn’t shining.
- An inverter (optional) converts stored DC power into the 120V AC that household appliances need.
The panels feed the charge controller, the controller feeds the batteries, and the inverter draws from the batteries to run your AC outlets.
Get the sizing right across all four, and you have a system that quietly keeps your rig powered for days.
Types of Solar Panels for RVs
Not all panels suit RV life equally. Here are the three you’ll actually choose between.
Monocrystalline Panels
The default choice for most RVers. Monocrystalline panels offer the highest efficiency per square foot, which matters enormously when your roof space is limited.
They cost a little more but pack more watts into less area, exactly what you want on a cramped RV roof.
Polycrystalline Panels
Slightly cheaper and slightly less efficient. Poly panels are a reasonable budget option if you have roof space to spare, but on most rigs, the efficiency edge of mono is worth the small premium.
Flexible (Thin-Film) Panels
These bend to follow curved roofs and weigh a fraction of rigid panels, which appeals to van lifers and owners of fiberglass-roofed trailers.
The trade-offs are real, though: shorter lifespans, lower efficiency, and a tendency to run hot because they sit flush against the roof with no airflow underneath. Choose them for weight or shape constraints, not as a default.
Rigid vs. Portable Panels
Beyond the cell type, you’ll decide between mounted (rigid) and portable (folding) panels.
Roof-mounted rigid panels charge automatically whenever the sun is out, no setup, no theft risk, nothing to remember.
The downside is you can’t aim them, and you’re stuck parking in the sun even when you’d rather be in the shade.
Portable folding panels plug into your rig and sit on the ground, so you can park in cool shade and place the panels in full sun.
They’re ideal as a supplement or for people who don’t want to drill into their roof. The catch: you have to deploy and pack them every time, and they can walk off if you leave camp.
Many experienced RVers run both a permanent roof array and a portable panel for shady sites.
How Many Solar Panels Does Your RV Need?
This is the question everyone asks, and the honest answer is that it depends on what you run. But here’s a practical framework.
Step 1: Estimate your daily power use in watt-hours (Wh)
Add up what each device draws (watts) times how many hours you use it daily.
| Appliance | Approx. Watts | Hours/Day | Watt-Hours |
|---|---|---|---|
| 12V fridge | 60 | 24 (cycling ~⅓) | ~480 |
| LED lights | 10 | 5 | 50 |
| Laptop | 60 | 4 | 240 |
| Water pump | 50 | 0.5 | 25 |
| Phone/device charging | 20 | 3 | 60 |
| Daily total | ~855 Wh |
Step 2: Account for sun hours
Most regions deliver 4–5 hours of usable peak sun per day. Divide your daily watt-hours by your peak sun hours:
855 Wh ÷ 4.5 hours ≈ 190 watts of solar minimum.
Step 3: Add a buffer
Real-world panels lose 20–30% to heat, wiring, cloud, and panel angle. Round up generously. For the example above, a 300W system gives comfortable headroom.
As a rough rule of thumb:
- Weekend warrior, minimal loads: 100–200W
- Extended boondocking, fridge + electronics: 300–400W
- Full-time living, occasional inverter use: 400–800W+
Don’t Forget the Battery Bank
Solar panels don’t power your RV; your batteries do. The panels just refill them. A common beginner mistake is buying plenty of solar but pairing it with a weak battery bank that can’t store a full day’s harvest.
For modern RV solar, lithium iron phosphate (LiFePO₄) batteries are the standard recommendation.
They deliver nearly all their rated capacity (vs. ~50% usable for lead-acid), last far longer in cycle count, and weigh less.
They cost more upfront but win decisively on cost-per-usable-amp-hour over their lifespan. Match your battery capacity to roughly your daily watt-hour need and ideally a day or two of reserve.
Charge Controllers: PWM vs. MPPT
The charge controller is small but critical. Two types exist.
- PWM controllers are cheaper and fine for small, low-voltage systems.
- MPPT controllers are 20–30% more efficient, especially in cold weather or when panel voltage is higher than battery voltage.
For anything above ~200W, an MPPT controller is worth the money. It harvests more power from the same panels.
RV Solar Kits vs. Building Your Own
If wiring diagrams make your eyes glaze over, an all-in-one RV solar kit bundles matched panels, a controller, and the cabling and connectors you need. Kits are the easiest entry point and remove the guesswork of component compatibility.
Building your own system gives you more control and often better value at higher wattages, letting you pick premium panels, a specific MPPT controller, and exactly the battery chemistry you want.
If it’s your first install, start with a quality kit; if you’re expanding or chasing maximum performance, go custom.
What Does an RV Solar Setup Cost?
Costs vary widely by size and quality, but ballpark figures help:
- Basic 100–200W kit: roughly $200–$500
- Mid-range 300–400W system with MPPT + decent battery: roughly $800–$1,800
- Full-time 600W+ system with lithium bank and inverter: $3,000–$6,000+
The battery bank, especially lithium, is usually the single biggest line item, not the panels.
Installation Tips From a Solar Technician
A few hard-won pointers that save headaches.
Avoid shading
Even partial shade on one panel can drag down an entire series string. Mount panels where vents, antennas, and AC units won’t cast shadows.
Use a proper wire gauge
Undersized wiring wastes power and creates heat. Follow the gauge specified for your amperage and run length.
Mount the controller close to the batteries
Mount the controller close to the batteries, not the panels. Voltage drop matters more on the battery side.
- Seal every roof penetration properly. Water intrusion ruins RVs faster than almost anything else.
- Add a fuse or breaker between the controller and battery. It’s cheap insurance.
If you’re not comfortable working with DC wiring, a professional install is money well spent. Mistakes here can damage equipment or create a fire risk.
Frequently Asked Questions
Can solar panels run an RV air conditioner?
Possibly, but it’s demanding. Running AC typically requires a large lithium bank, a high-output inverter, and 600W+ of solar, and even then, often only for limited periods.
Most RVers use solar for everything except AC and rely on shore power or a generator for cooling.
Will solar charge my RV battery while driving?
Roof panels charge whenever there’s sun, including while parked or driving. Many RVers also add a DC-to-DC charger so the engine alternator helps top up the house batteries on travel days.
How long do RV solar panels last?
Quality rigid panels are typically warrantied for 20–25 years and degrade slowly. Flexible panels generally have shorter lifespans.
Do I need an inverter?
Only if you want to run 120V AC appliances (laptops via wall chargers, kitchen gadgets, TVs). If everything you use runs on 12V DC, you can skip it.
Final Thoughts
The right solar panels for your RV come down to one thing: matching your system to how you actually camp. Weekend campers can get away with a modest 100–200W kit, while full-timers chasing true energy independence should plan for a 400W+ system backed by a healthy lithium battery bank and an MPPT controller.
Start by calculating your actual daily power use, size your panels and batteries to allow for a comfortable buffer, and don’t cut corners on the controller or wiring.
Get those fundamentals right, and you’ll trade generator noise and dead batteries for quiet, sun-powered freedom wherever the road takes you.
