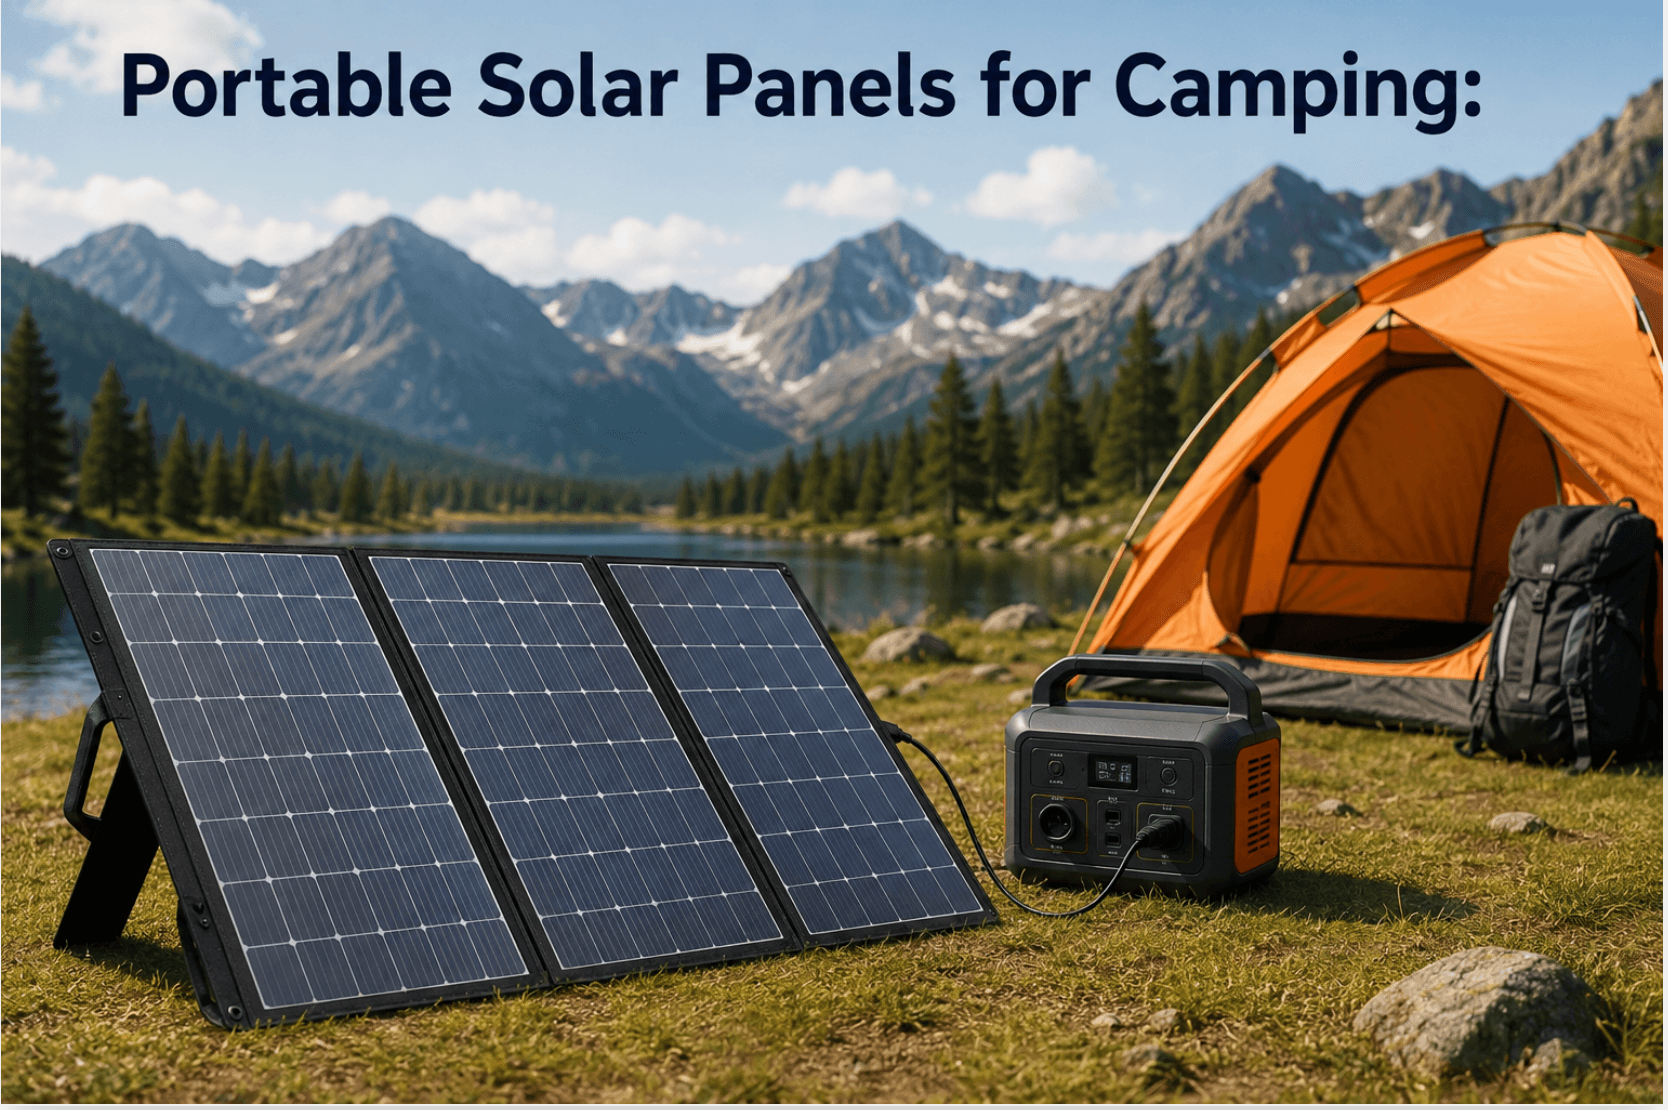
I’ve spent more than a decade working with photovoltaic systems, from grid-tied rooftop arrays I designed as a solar engineer at Inelecsa to the small, foldable panels I now throw in the trunk for weekend trips.
The physics is identical whether you’re powering a house or charging a phone in the backcountry. The difference is that camping forces you to make smart trade-offs between weight, power, and durability, and most buyer’s guides get those trade-offs wrong.
This guide cuts through the marketing. I’ll show you how to size a panel to what you actually run, which panel technologies survive real outdoor use, and how to read spec sheets so you don’t overpay for watts you’ll never harvest.
How portable solar panels for camping actually work
A portable solar panel converts sunlight into DC electricity through the photovoltaic effect. Photons knock electrons loose in the silicon cells, and that flow of electrons becomes usable current.
For camping, that current rarely powers your devices directly. It charges a battery (a power station or a smaller battery bank), and your devices draw power from it.
This matters because the panel is only half the system. A 200-watt panel paired with a tiny battery is pointless, and so is a huge battery you can never refill because your panel is too small.
Think in terms of the full chain: panel → charge controller → battery → device.
Most quality portable panels for camping have the charge controller built into the power station, not the panel itself.
The panel’s job is simply to deliver clean DC power at a voltage the power station’s input can accept.
Three panel technologies, and which one belongs in your pack
Not all solar cells are the same. The technology determines efficiency, weight, and how the panel behaves in less-than-perfect light, which is exactly what camping throws at you.
Monocrystalline is what you want for camping. These cells are cut from a single silicon crystal, giving them the highest efficiency (typically 20–23%) and the best low-light performance.
They cost more per panel but deliver more watts per square inch, which means less weight and pack space for the same output. Nearly every reputable foldable camping panel today is monocrystalline.
Polycrystalline panels use multiple silicon fragments fused. They’re cheaper but less efficient (15–17%) and noticeably worse in low light and heat.
For a fixed rooftop where space is free, poly can make economic sense. For camping, where every gram and every square inch matters, it rarely does.
Thin-film (amorphous) panels are flexible and extremely light, which sounds perfect for backpacking.
The catch is low efficiency (10–13%) and a much larger surface area for the same wattage. They shine in niche cases, sewing onto a pack or draping over an irregular surface, but for charging a power station, they’re inefficient. I only recommend thin-film for ultralight backpackers charging small USB devices, not for anyone running a power station.
If you remember one thing: for camping, buy monocrystalline unless you have a specific reason not to.
Sizing your panel: the calculation most guides skip
Manufacturers love to advertise a panel’s peak wattage. But peak wattage is a lab number measured under standard test conditions: 1000 W/m² of irradiance at 25°C.
In the field, you’ll routinely see 60–75% of rated output because of clouds, panel angle, heat, dust, and partial shade.
Here’s how I size a system. First, list every device and its daily energy use in watt-hours (Wh). Watt-hours = watts × hours of use. A few realistic examples:
- Phone charge: ~15 Wh per full charge
- LED camp lights (5W) for 4 hours: 20 Wh
- Small 12V fridge/cooler: 200–400 Wh per day
- Laptop charge: ~60 Wh
- CPAP machine (no heated humidifier): 50–90 Wh per night
Add those up to get your daily demand. Say it’s 300 Wh.
Now account for real-world losses. Multiply your daily demand by about 1.5 to cover charging inefficiency and imperfect conditions. 300 Wh × 1.5 = 450 Wh you actually need to harvest.
Then estimate your usable sun. Even on a sunny day, you realistically get 4–5 hours of strong “peak sun” charging, not the full daylight period. Divide your target by peak sun hours: 450 Wh ÷ 4.5 hours ≈ 100 W of panel.
That’s the honest math. A 100W panel keeps a light camping load topped up. If you run a fridge, expect to need 200W or more.
Matching panel to battery (power station)
Your power station’s capacity should comfortably hold a day’s worth of energy, and its solar input rating should be able to accept your panel’s output. A common, well-balanced camping setup looks like this:
| Use case | Panel size | Power station capacity |
|---|---|---|
| Phones, lights, small USB gear | 60–100W | 200–300 Wh |
| Add a laptop, drone, and camera batteries | 100–200W | 500–700 Wh |
| 12V fridge + everything above | 200–400W | 1000+ Wh |
| RV / van off-grid base | 400W+ | 1500+ Wh |
Always check that the power station’s maximum solar input voltage and wattage match your panel. Feeding a panel that exceeds the input rating either gets throttled or, in poorly designed units, can damage the controller.
The spec sheet details that actually predict performance
When you’re comparing two panels, these are the numbers I look at and the marketing terms I ignore.
Cell efficiency tells you how much sunlight becomes electricity. Higher is better for weight and pack size. Anything 20%+ is good.
Open-circuit voltage (Voc) and the voltage at maximum power must fall inside your power station’s accepted input range.
This is the spec most beginners overlook, and a mismatch is the most common reason a panel “won’t charge.”
Connector type matters for compatibility. Most power stations use a barrel plug, Anderson, or XT60 input. Confirm the panel ships with or adapts to your unit’s input. A pile of adapters in the gear bag is a sign you didn’t check this.
An IP rating describes water and dust resistance. Many foldable panels are IP65-ish on the cells but have an exposed junction box and ports that are not waterproof.
Treat almost all portable panels as shower-resistant, not submersible, and never leave them out in a storm.
Weight and folded size are your real-world constraints. A 100W panel typically weighs 4–6 kg (9–13 lb) and folds to roughly the size of a laptop bag. Compare these directly when models are otherwise similar.
Field techniques that beat buying a bigger panel
After years of doing this, I’ve learned that how you use a panel often matters more than its size.
Angle it at the sun
A panel lying flat on the ground can lose 30% or more of its output. Use the built-in kickstand and re-aim it every couple of hours as the sun moves. This single habit is worth buying a panel one size larger.
Avoid partial shade like the plague
Solar cells are wired in series. A single shaded cell, a tree branch, a tent guy line, or even a thick shadow across one corner can drag down the output of the whole panel disproportionately. Place panels in clean, open sun.
Keep them cool
Solar cells lose efficiency as they heat up. Slightly elevating a panel so air flows behind it performs better than letting it bake flat on hot rock or sand.
Charge the battery, not the device
Direct device-to-panel charging is unstable; a passing cloud interrupts it, and some devices stop charging entirely. Always buffer through a power station so your devices get a steady supply.
Common mistakes I see at campsites
The most frequent error is buying way more panels than the battery can store, or vice versa, an unbalanced system where one component is always the bottleneck.
The second is trusting the advertised peak wattage and being disappointed by real output; build in that 1.5× safety margin from the start.
The third is ignoring the voltage match between the panel and the power station, which leads to a panel that simply won’t charge.
And the fourth is leaving panels flat and unattended all day, angling and re-aiming, and you’ll harvest far more.
My bottom-line recommendation
For most campers, a 100W monocrystalline foldable panel paired with a 300–500 Wh power station is the sweet spot: enough to keep phones, lights, a laptop, and camera gear running indefinitely, light enough to carry, and affordable enough to justify. Add a fridge for longer off-grid stints, and step up to 200W and 1000 Wh.
Buy monocrystalline, match your voltages, size honestly with the watt-hour math above, and aim your panel at the sun.
Do that, and a portable solar panel stops being a gadget and becomes genuinely reliable infrastructure for life off the grid.
Seki Hudson is an ANCE-certified solar technician (2014) and industrial automation engineer who worked as a solar systems engineer at Inelecsa from 2014 to 2016. He writes about practical solar energy at SolarFuturista.
