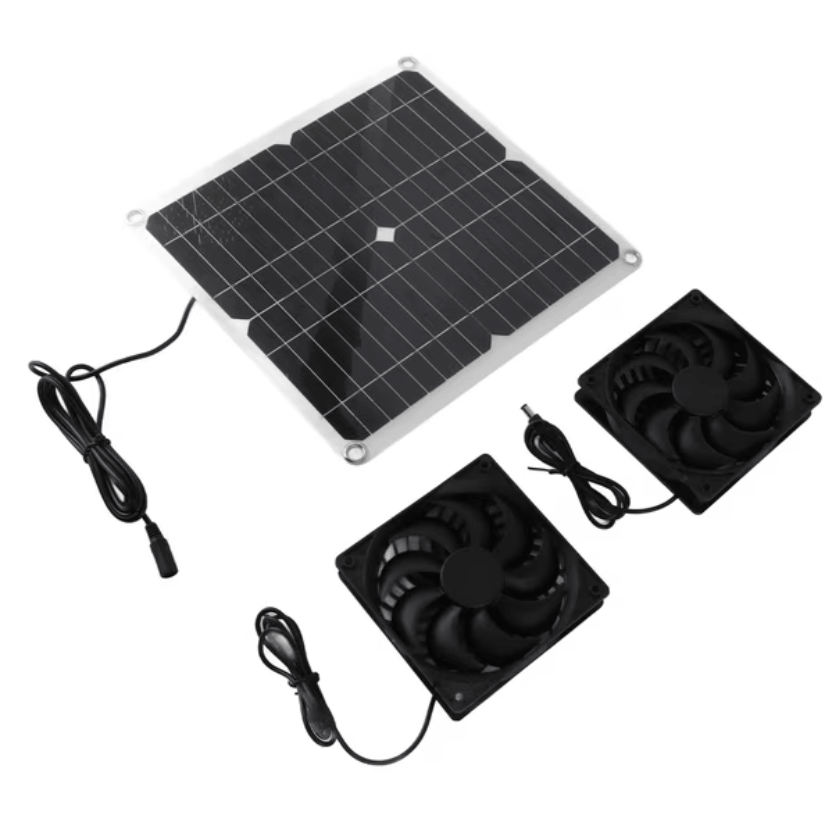
A 12V solar panel is the workhorse of small off-grid power, the panel of choice for RVs, vans, boats, trailers, sheds, and battery maintenance setups.
It’s affordable, easy to wire, and pairs naturally with the 12-volt batteries that already power most mobile and recreational systems.
But “12V” hides a few details that trip people up: a so-called 12V panel doesn’t actually output 12 volts; you almost always need a charge controller; and the panel size has to match both your battery bank and your daily energy use.
This guide walks through everything in plain language so you can buy and install the right panel the first time.
What Is a 12V Solar Panel?
A 12V solar panel is a panel designed to charge a 12-volt battery system. Despite the name, its actual output is typically around 18–22 volts at peak (the open-circuit voltage, or Voc).
That headroom is intentional: it gives the panel enough pressure to push current into a 12V battery even in weak light or hot conditions, where voltage sags.
You’ll see 12V panels rated in watts. Common sizes are 50W, 100W, 200W, and 400W. Wattage tells you how much power the panel produces under ideal sunlight; voltage tells you what battery system it’s built for.
“12V” vs. “12-Volt-Nominal”
The “12V” label refers to the nominal system voltage on the battery side it’s meant to feed, not the panel’s real-world output.
This is why you can’t connect a 12V panel directly to a battery without a controller: the raw voltage would overcharge and damage the battery.
How a 12V Solar Panel System Works
A basic 12V solar setup has four core parts. Power flows in this order.
Solar panel
It captures sunlight and converts it to DC electricity.
Charge controller
It regulates the voltage and current going into the battery, preventing overcharge.
Battery
It stores the energy (commonly a 12V lead-acid, AGM, or lithium/LiFePO4 battery).
Loads/inverter
Your DC devices run directly off the battery; AC devices run through an inverter.
For anything but a tiny trickle-charge panel, the charge controller is non-negotiable. It’s what makes the system safe and what determines how efficiently your panel charges the battery.
PWM vs. MPPT Charge Controllers
There are two types, and the choice matters for 12V systems:
PWM (Pulse Width Modulation)
It is a cheaper, simpler, fine for small single-panel 12V setups (under ~150W) where the panel and battery voltages are closely matched.
MPPT (Maximum Power Point Tracking)
It is more expensive but 15–30% more efficient. It converts excess panel voltage into usable charging current, so it’s the better choice for larger arrays, cold climates, or any setup where you want to extract maximum output.
Rule of thumb: one small panel → PWM is fine. 200W or more, or multiple panels → go MPPT.
What Size 12V Solar Panel Do You Need?
Sizing comes down to one question: how much energy do you use per day? Here’s the simple method.
Add up your daily watt-hours (Wh)
List each device, multiply its watts by the hours used per day, and total them. Example: a 40W fridge running 10 hours = 400Wh.
Divide by your daily peak sun hours
Most locations get 4–5 usable sun hours per day. So 400Wh ÷ 4 = 100W of panel needed (in theory).
Add a 20–30% buffer for losses from wiring, the controller, heat, and cloudy days. 100W becomes roughly 130W of real-world panel capacity.
The table below gives a quick starting point for common use cases.
| Use Case | Recommended Panel Size | Typical Battery | Controller |
|---|---|---|---|
| Battery maintainer (car, boat, RV in storage) | 10W–50W | 1 × 12V | PWM |
| Small camper / weekend van (lights, phone, fan) | 100W | 1 × 12V 100Ah | PWM or MPPT |
| Full-time van or RV (fridge, devices, water pump) | 200W–400W | 200Ah+ lithium | MPPT |
| Off-grid cabin or shed | 400W+ | 200Ah+ bank | MPPT |
How to Wire a 12V Solar Panel
The wiring sequence matters for safety. Always connect the battery to the charge controller first, then the panel, and disconnect in the reverse order.
- Mount the panel and run the cables to your controller location.
- Connect the battery to the charge controller’s battery terminals (the controller needs to detect battery voltage before the panel is connected).
- Connect the solar panel to the controller’s solar/PV terminals.
- Connect your loads to the controller’s load terminals (for small loads) or directly to the battery via a fuse for larger draws.
- Add an inline fuse on both the panel-to-controller and battery-to-controller lines for protection.
Wiring Multiple Panels: Series vs. Parallel
- Parallel (positive-to-positive, negative-to-negative) keeps the voltage at 12V and adds the current. Best for PWM systems and shorter wire runs.
- The series (positive-to-negative) adds the voltage (two 12V panels → 24V). Best for MPPT systems and long wire runs, since higher voltage reduces line losses.
Best Types of 12V Solar Panels
You’ll mainly choose between three panel constructions:
Monocrystalline
They have the highest efficiency, are best in limited space (RV/van roofs), and have a slightly higher cost. The default recommendation for most buyers.
Polycrystalline
These are cheaper and slightly less efficient, but fine when you have plenty of mounting space.
Flexible / thin-film
They bend to curved surfaces (boat decks, van roofs) and are lightweight but less durable and less efficient than rigid panels.
For most RV, van, and cabin owners, a rigid monocrystalline 100W or 200W panel offers the best balance of efficiency, durability, and price.
Common 12V Solar Panel Mistakes to Avoid
- Skipping the charge controller, connecting a panel directly to a battery will overcharge and ruin it.
- Undersizing the panel, forgetting the 20–30% real-world loss buffer, leaves you short on cloudy days.
- Using a PWM controller on a large array, you’ll waste 15–30% of your potential output.
- Ignoring shade, even partial shade on one cell can cut a panel’s output dramatically. Mount where the sun is uninterrupted.
- Undersized wiring, a thin cable over a long run, causes voltage drop and lost power. Use a wire-gauge calculator for your distance and current.
Frequently Asked Questions
Can I connect a 12V solar panel directly to a battery?
Only for very small trickle/maintenance panels (typically under ~5W) that are explicitly labeled as needing no controller.
For anything larger, you must use a charge controller, or you risk overcharging and damaging the battery.
How long does a 12V solar panel take to charge a 12V battery?
It depends on panel wattage and battery capacity. A 100W panel in good sun produces roughly 30Ah per day, so it would take about three to four good-sun days to fully charge a depleted 100Ah battery, though in practice you size the system so the panel keeps up with daily use rather than charging from empty.
What does a 12V solar panel actually output?
Around 18–22 volts at peak (open-circuit), which the charge controller steps down to a safe charging voltage for your 12V battery. The “12V” name refers to the battery system it charges, not the panel’s raw output.
Is a 100W 12V solar panel enough for an RV?
For a weekend setup running lights, a fan, and charging phones, 100W is usually enough. For full-time living with a fridge, water pump, and multiple devices, plan on 200W–400W with a lithium battery bank and an MPPT controller.
Do 12V solar panels work on cloudy days?
Yes, but output drops significantly, often to 10–25% of rated power. This is exactly why you build a 20–30% buffer into your sizing and use a battery to store reserve power for low-sun stretches.
Final Thoughts
A 12V solar panel is the simplest, most accessible entry point into solar power — ideal for keeping an RV, van, boat, or cabin running off-grid.
Get three things right, and you’ll have a reliable system: size the panel to your real daily energy use (plus a buffer), always use a charge controller matched to your array, and wire it in the correct sequence with proper fuses.
Start with a quality monocrystalline 100W panel if you’re unsure; it’s the size most people grow into rather than out of.
