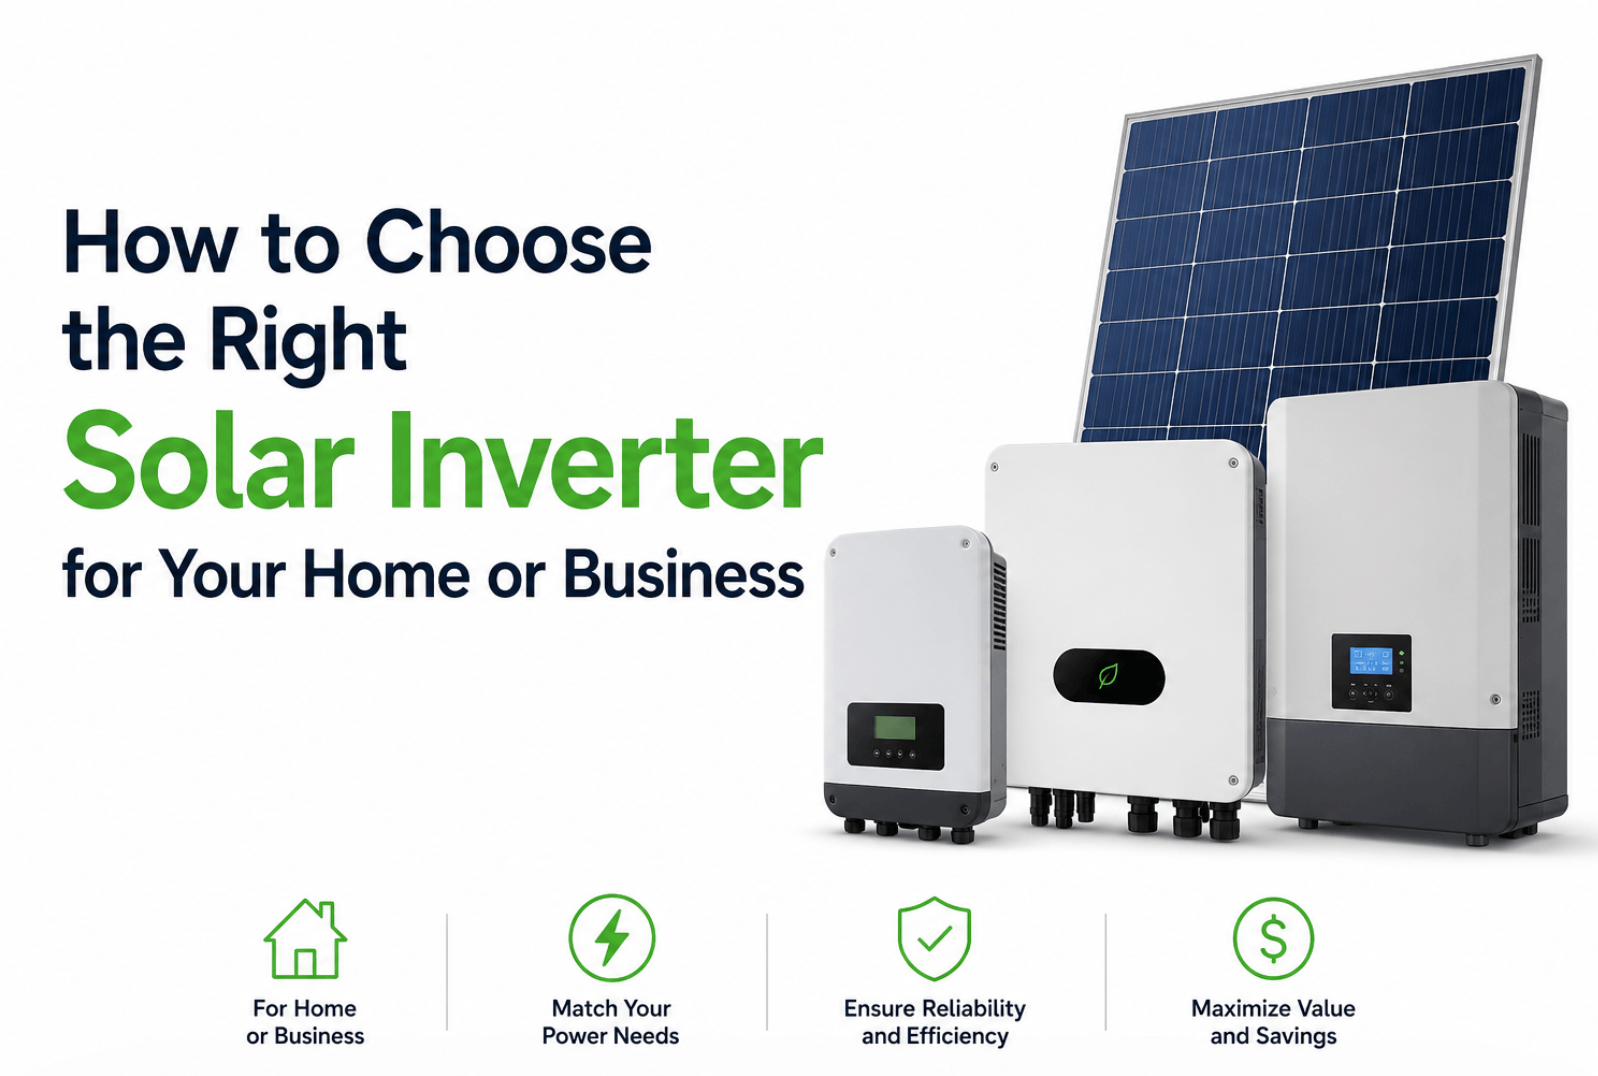
When I worked as a solar system designer, I nailed it down that I just used two types of inverters. For standard inverters, I always selected Fronius, and for microinverters, I always went with Enphase, but how did I reach this conclusion? I will share my thinking process today.
When people research solar energy systems, they spend a lot of time comparing solar panels, but the inverter deserves just as much attention.
What is an inverter?
The solar inverter is the brain of your system. It converts the direct current (DC) electricity your panels produce into the alternating current (AC) electricity your home or business actually uses. Choose the wrong one, and you leave significant energy and money on the table.
This guide walks you through everything you need to know about how to choose the right solar inverter, from understanding key technical specifications to matching the inverter to your specific energy situation.
Why Choosing the Right Solar Inverter Matters
A solar panel array can be perfectly sized and optimally placed, but if the inverter is mismatched, inefficient, or poorly suited to your climate, your system will underperform. The right inverter:
- Maximizes the energy you harvest from your panels
- Protects your system from voltage and frequency irregularities
- Integrates cleanly with your home’s electrical grid or battery storage
- Reduces long-term maintenance headaches
How to Choose the Right Solar Inverter for Your Home or Business
Let’s get into exactly how to make that selection.
Step 1: Assess Your Energy Consumption First
Before comparing inverter specs, you need to know how much electricity your home or business consumes.
Pull out your last 6–12 months of utility bills and look at your monthly kilowatt-hour (kWh) usage. Average that out to get a daily consumption figure.
This baseline matters because your inverter and your entire solar system should be scaled to meet your actual demand. Oversizing wastes capital. Undersizing means you’re still heavily dependent on the grid.
Quick rule of thumb
A household consuming 30 kWh/day in a region with 5 peak sun hours would need roughly a 6 kW system. Your inverter should be sized in line with that system capacity.
Step 2: Match Inverter Size to Your Solar Panel Array
Sizing your inverter correctly is one of the most important decisions in the selection process. Think of it like matching an engine to a vehicle that’s too small, and you’re throttling performance; too large and you’re paying for capacity you’ll never use.
Rated Output Power
The inverter’s rated output power should be at or above the total wattage of your solar panel array. For example.
- A 3 kW panel array needs an inverter rated for at least 3 kW of output
- A 4 kW inverter paired with a 3 kW array is perfectly workable
- The reverse a 3 kW inverter on a 4 kW array will clip your production and reduce yields
Max PV Input Power
The maximum PV input power (sometimes called “max DC input”) tells you the upper limit of solar panel power the inverter can accept. This figure should be checked carefully against your panel array’s total rated capacity.
For a 4 kW panel array, a 5 kW inverter with a max PV input is often optimal. Going significantly higher, say a 10 kW inverter on a 4 kW array, is inefficient and unnecessary.
Pro tip
These specifications are found on the inverter’s datasheet, not always on the unit itself. Always download and review the manufacturer’s datasheet before purchasing.
Step 3: Prioritize High Efficiency Ratings
Efficiency tells you how much of the incoming solar energy actually makes it to your outlets as usable electricity.
Even a few percentage points of efficiency difference can add up to hundreds of kilowatt-hours and real money over a year.
Here are the efficiency benchmarks to use as a minimum standard when selecting a solar inverter.
| System Size | Minimum Acceptable Efficiency |
|---|---|
| Under 3 kW | 90% |
| 3 kW – 10 kW | 94% |
| Above 20 kW | 98% |
For residential systems in the 3–10 kW range, target inverters with efficiencies above 95% whenever possible.
The best models on the market today regularly hit 97–98% even at smaller scales. Don’t accept anything below the benchmarks in the table. You’ll be leaving solar energy unconverted and unused every single day.
Step 4: Check the Operating Temperature Range
Your inverter will be installed outdoors or in a semi-exposed location, such as a garage, a utility room, or mounted on an exterior wall.
It needs to function reliably across your region’s full temperature range, from the coldest winter nights to the hottest summer afternoons.
What to look for
An operating temperature range of -25°C to 60°C is ideal and covers the vast majority of climates worldwide.
- In colder climates (northern Canada, high-altitude regions), a minimum of -25°C is important
- In hot desert regions (like much of northern Mexico or the US Southwest), confirm the inverter can handle upper temperatures above 50°C without throttling output
Temperature derating, where an inverter automatically reduces its output to protect itself from overheating, is a real performance killer in hot climates. Check whether the inverter derates at temperatures you regularly experience.
This specification is found in the datasheet, not on the inverter unit itself.
Step 5: Verify Frequency Output Compatibility
The electrical grid operates at a specific frequency of 60 Hz in the United States, Canada, and Mexico and 50 Hz in most of Europe, Asia, Africa, and Australia.
Your inverter’s output frequency must match your local grid frequency, and the variation should be minimal.
What to look for
Frequency output within (Grid Frequency ± 0.2 Hz)
- In Mexico and the US, the output should fall within 59.8 Hz – 60.2 Hz
- In Spain or other 50 Hz regions: look for 49.8 Hz – 50.2 Hz
This specification is usually printed directly on the inverter unit, but it also appears in the datasheet.
Exceeding the allowable frequency variance can cause your inverter to disconnect from the grid as a protection measure, interrupting your energy production.
Step 6: Understand Open Circuit Voltage (VOC)
Open circuit voltage is the maximum voltage a solar panel produces when no current is flowing, essentially the voltage at full sun with no load.
This matters for inverter selection because if the panel’s open circuit voltage exceeds what the inverter can handle, you risk damaging the inverter.
The rule
The inverter’s maximum input open circuit voltage (VOC, I) must always be greater than the panel array’s open circuit voltage (VOC, P).
VOC,I > VOC,PYou’ll need to look up both values in their respective datasheets and do a direct comparison. This is especially important when panels are wired in series, because voltages add up.
An array of 10 panels, each rated at 40V VOC, wired in series, produces 400V. Make sure your inverter can handle that.
Step 7: Consider the Type of Inverter
Once you’ve worked through the core technical parameters, you’ll also want to select the right inverter type for your installation:
String Inverters
The most common and cost-effective option for residential systems. All panels connect to a single central inverter. Work best when panels are on a single roof plane with minimal shading.
Microinverters
Installed on each panel. Ideal when panels face multiple directions or face partial shading. It’s more expensive upfront, but it maximizes production from each panel independently.
Hybrid Inverters
Designed for systems that include battery storage. They manage both solar input and battery charge/discharge, making them the best choice if you’re planning for energy independence or backup power.
Off-Grid Inverters
Used in systems completely disconnected from the utility grid. Common in rural properties, remote cabins, or areas with unreliable grid access.
Step 8: Evaluate Smart Features and Monitoring
Modern inverters are more than just power converters. They’re data hubs for your solar system. When comparing models, look for:
Real-time monitoring
Via a smartphone app or web portal, so you can track daily and historical production
Remote firmware updates
Keeps your inverter current without a technician visit
Grid export controls
Required in some regions to limit how much power you export to the grid
Battery integration readiness
If you’re not adding batteries now but might in the future, choose an inverter that supports it
Smart monitoring is no longer a premium feature. Most mid-range and above inverters include it as standard. Don’t buy an inverter in 2026 or beyond that that offers no visibility into your system’s performance.
Quick Reference: Solar Inverter Selection Checklist
Use this checklist when comparing inverter options:
| Parameter | What to Look For | Where to Find It |
|---|---|---|
| Rated Output Power | ≥ total solar panel array wattage | On the inverter |
| Max PV Input Power | Closely matched to array capacity | Datasheet |
| Efficiency | >95% for <10 kW systems; >98% for >20 kW | Datasheet |
| Operating Temperature | -25°C to 60°C range or wider | Datasheet |
| Frequency Output | Grid frequency ±0.2 Hz | On the inverter / Datasheet |
| Max Open Circuit Voltage | VOC,Inverter > VOC,Panels | Datasheet |
| Inverter Type | Matched to shading profile and battery plans | — |
| Smart Monitoring | App-based, real-time data | Product page |
Common Mistakes to Avoid
Buying based on price alone
A cheap inverter with 88% efficiency on a 6 kW system can cost you hundreds of kWh per year in lost production. Factor in the 10–15 year lifecycle.
Ignoring the datasheet
The marketing page shows you what sounds good. The datasheet shows you what’s actually true about efficiency curves, temperature behavior, and voltage limits.
Forgetting about the warranty
Quality inverters come with 5–12 year warranties. Anything less than 5 years on a residential unit is a yellow flag.
Not accounting for future expansion
If you think you might add panels or batteries later, size your inverter to accommodate that growth now.
Final Thoughts
Selecting the right solar inverter is not complicated once you break it down into clear steps: know your energy consumption, match the inverter’s power rating to your panel array, demand high efficiency, verify your climate compatibility, and check the voltage and frequency specs against your local grid.
The inverter is a long-term investment. It will be running every day for a decade or more. Taking the time to make an informed, spec-driven choice pays off in higher yields, fewer problems, and lower long-term costs.
If you found this guide useful, explore the rest of solarfuturista.com for more in-depth guides on solar panel sizing, battery storage options, and how to calculate your solar return on investment.
